Adjustable PV Solar Ground Farming Mounting Bracket Suppliers
Overview
☀️ Solar Ground Mounting Brackets
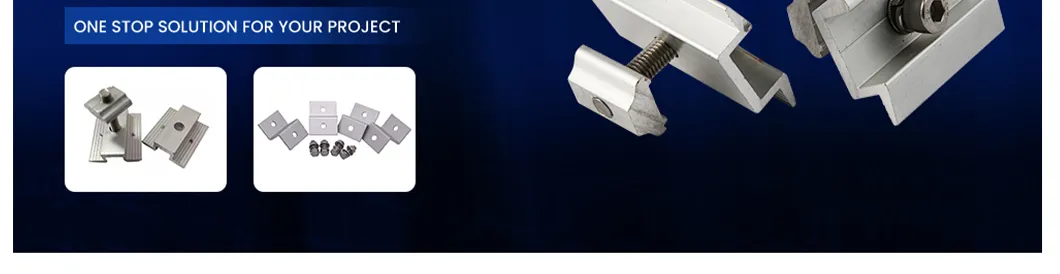
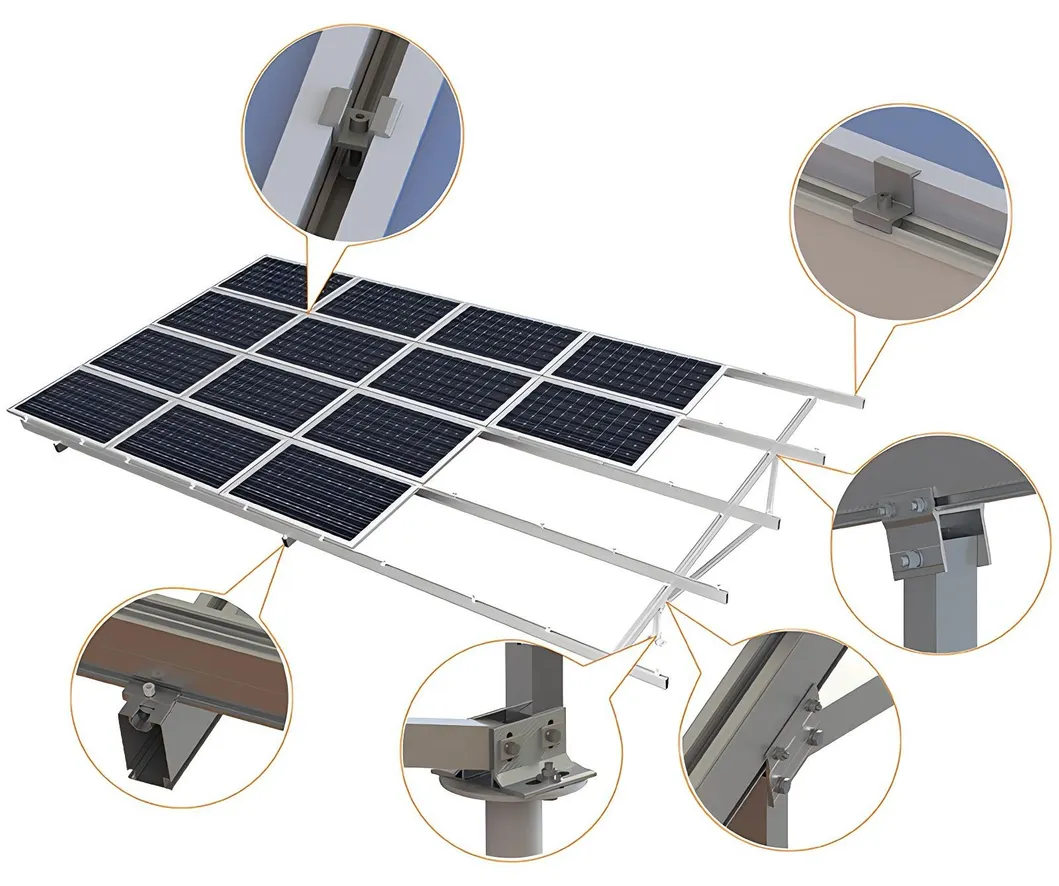
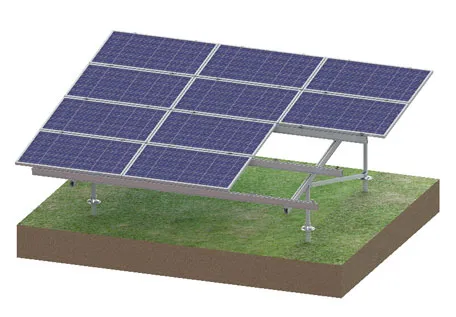
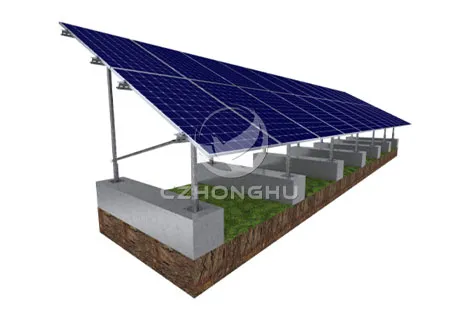
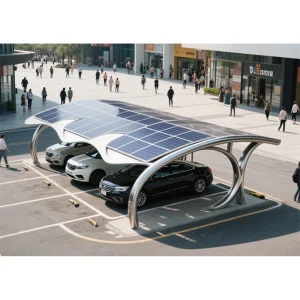
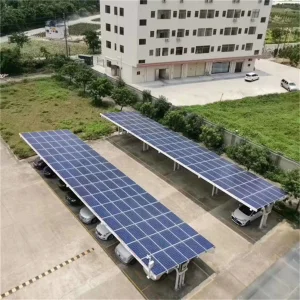
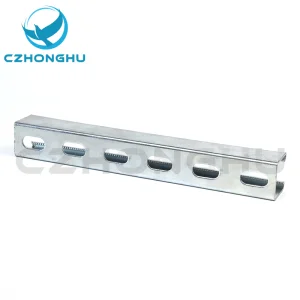
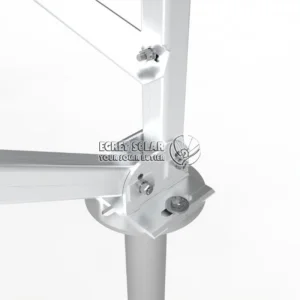
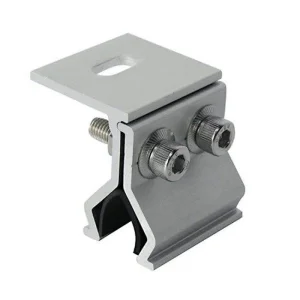
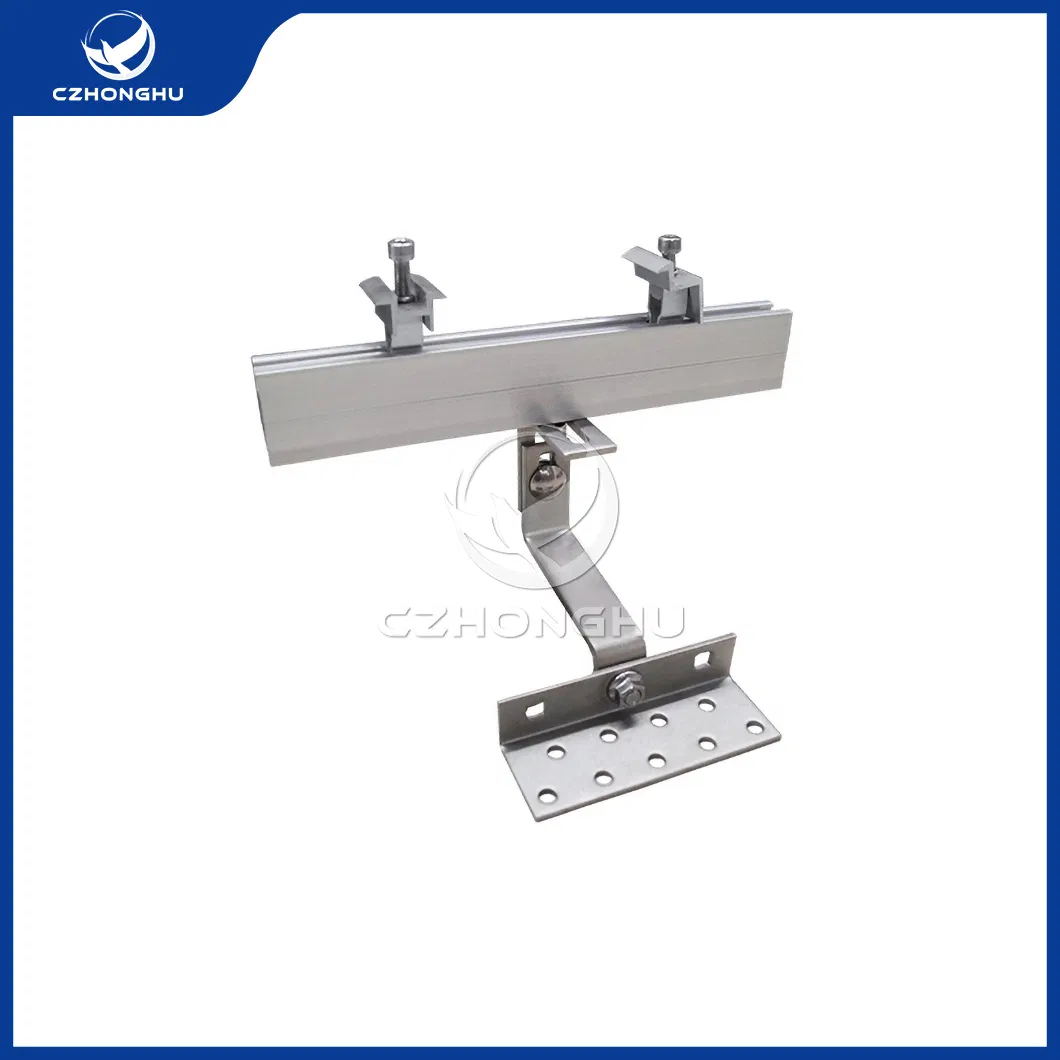
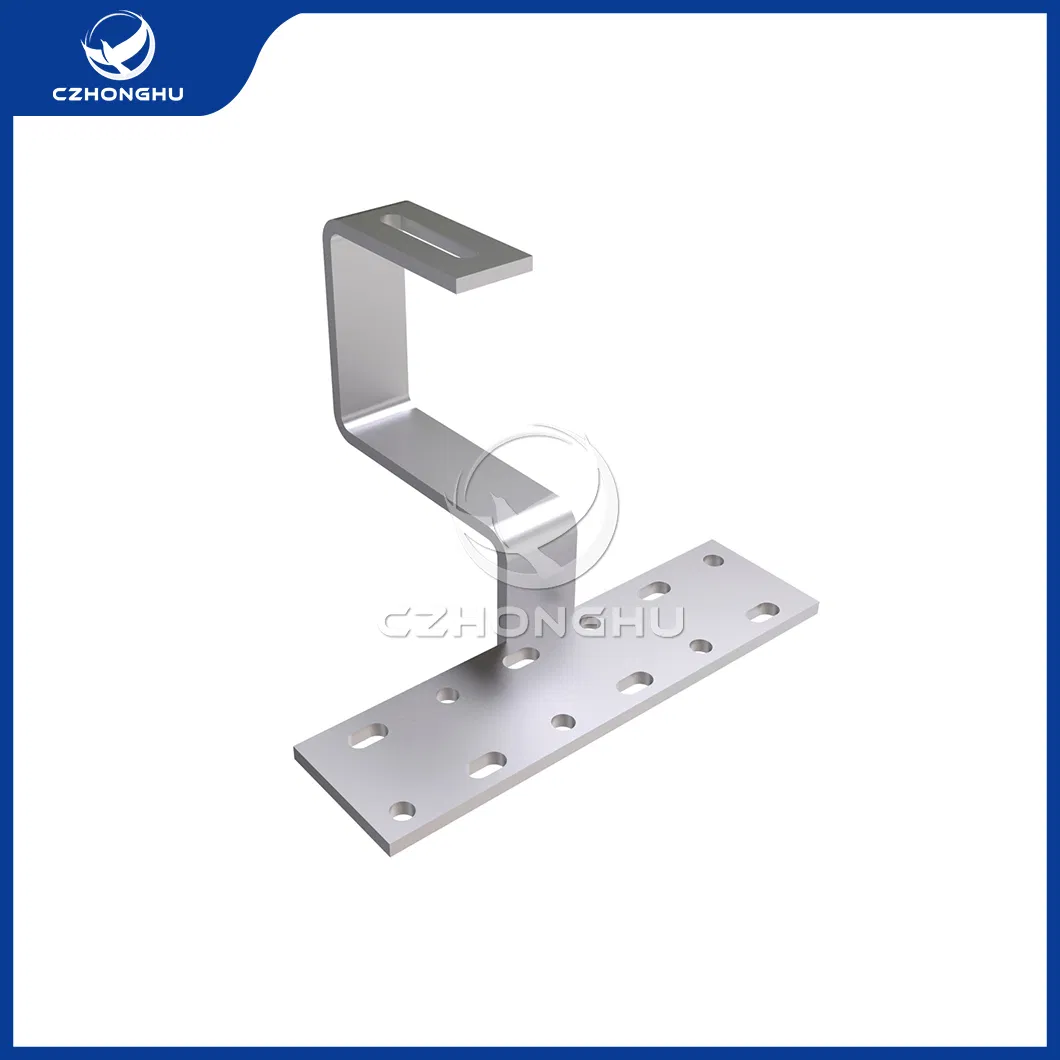
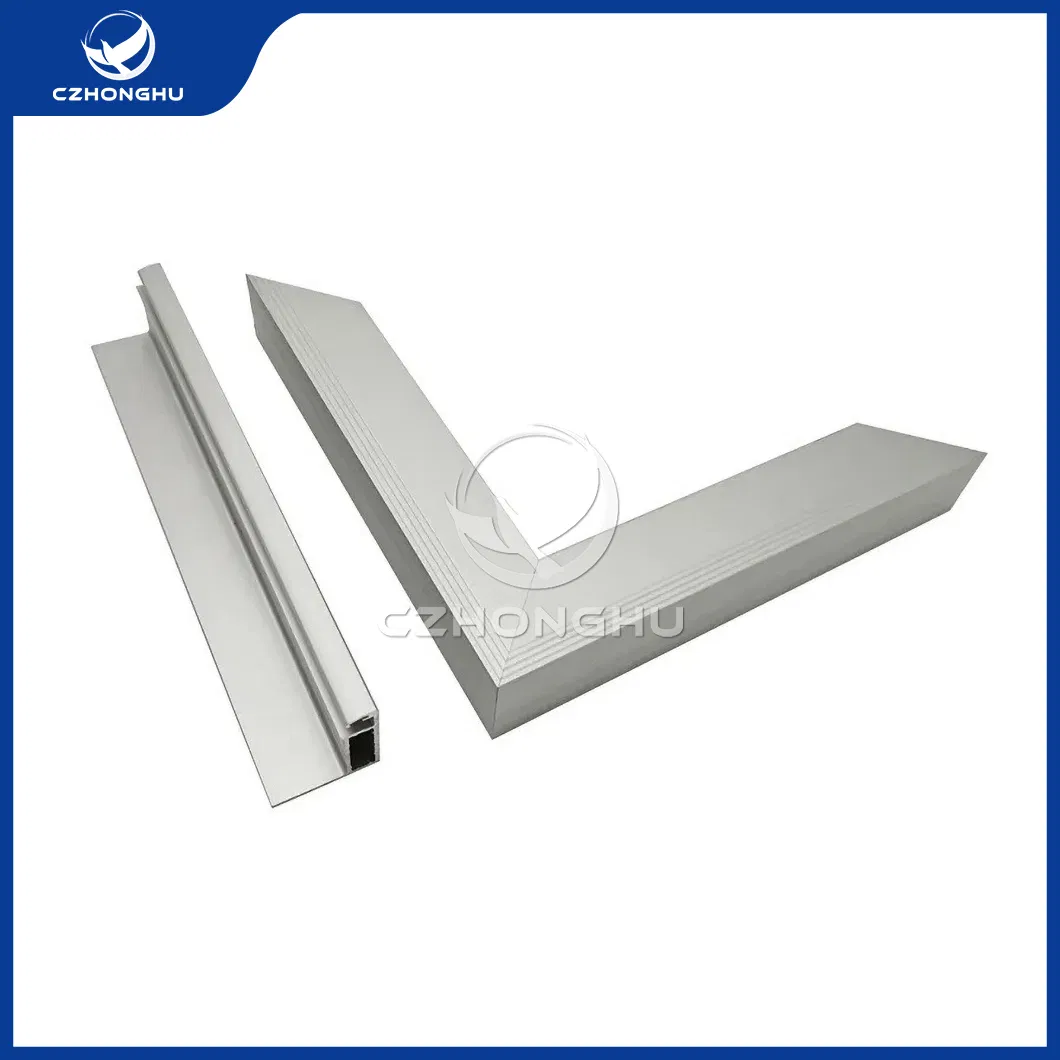
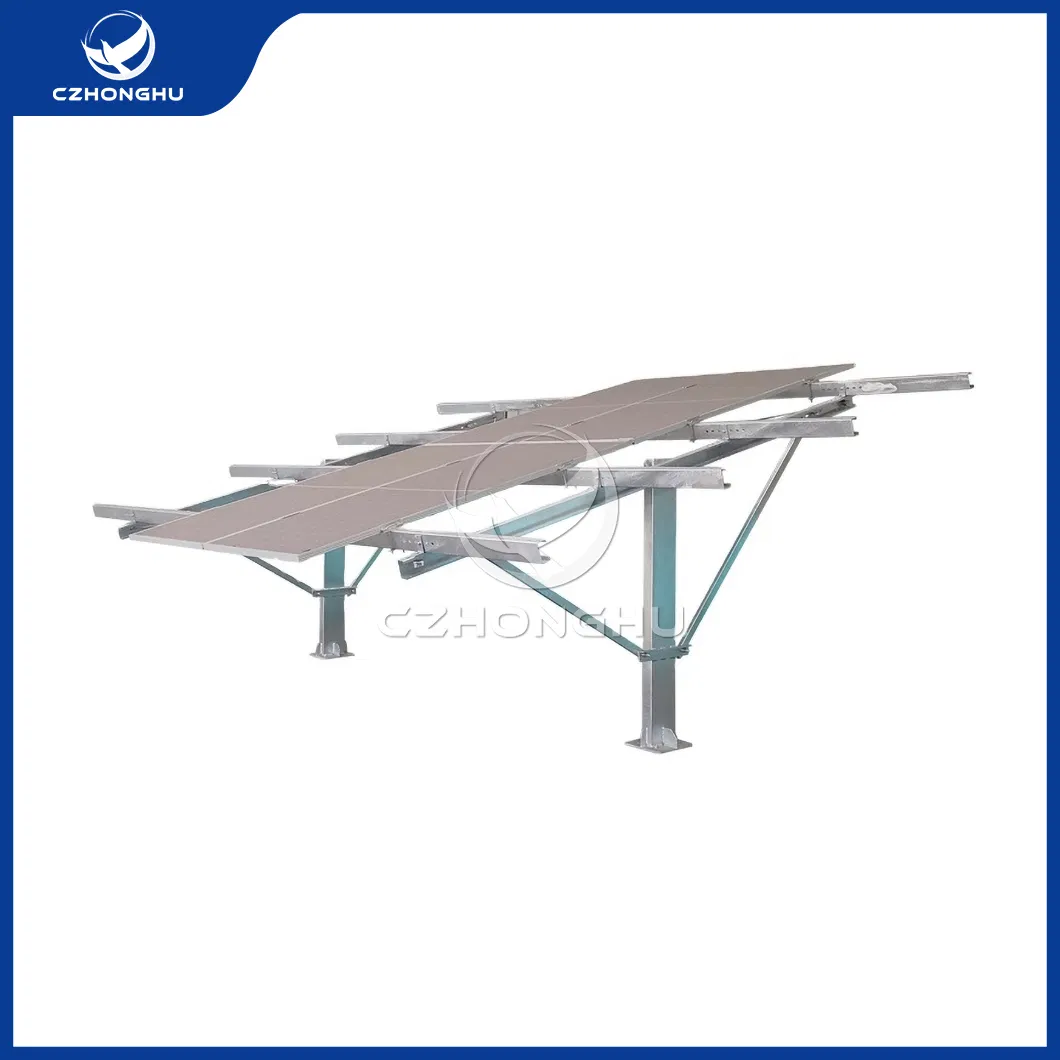
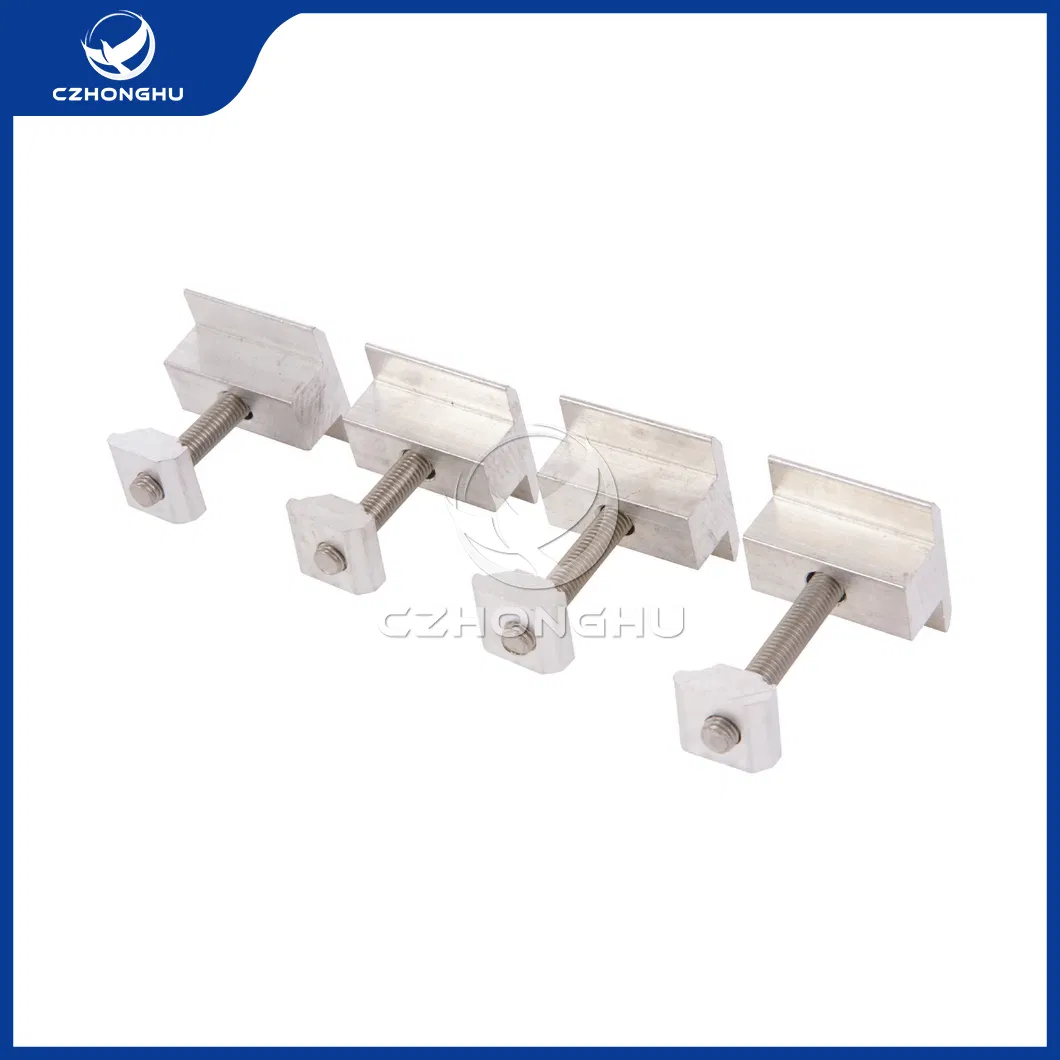
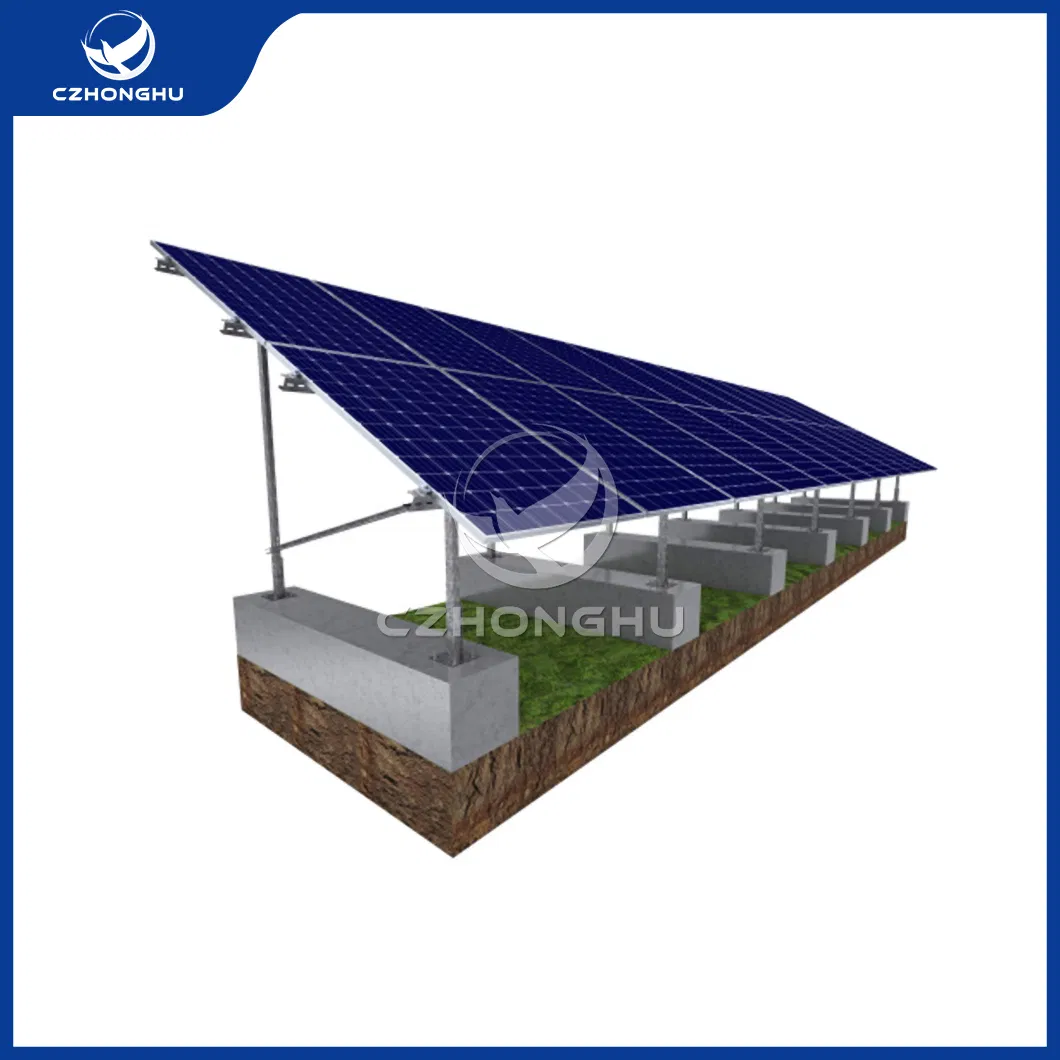
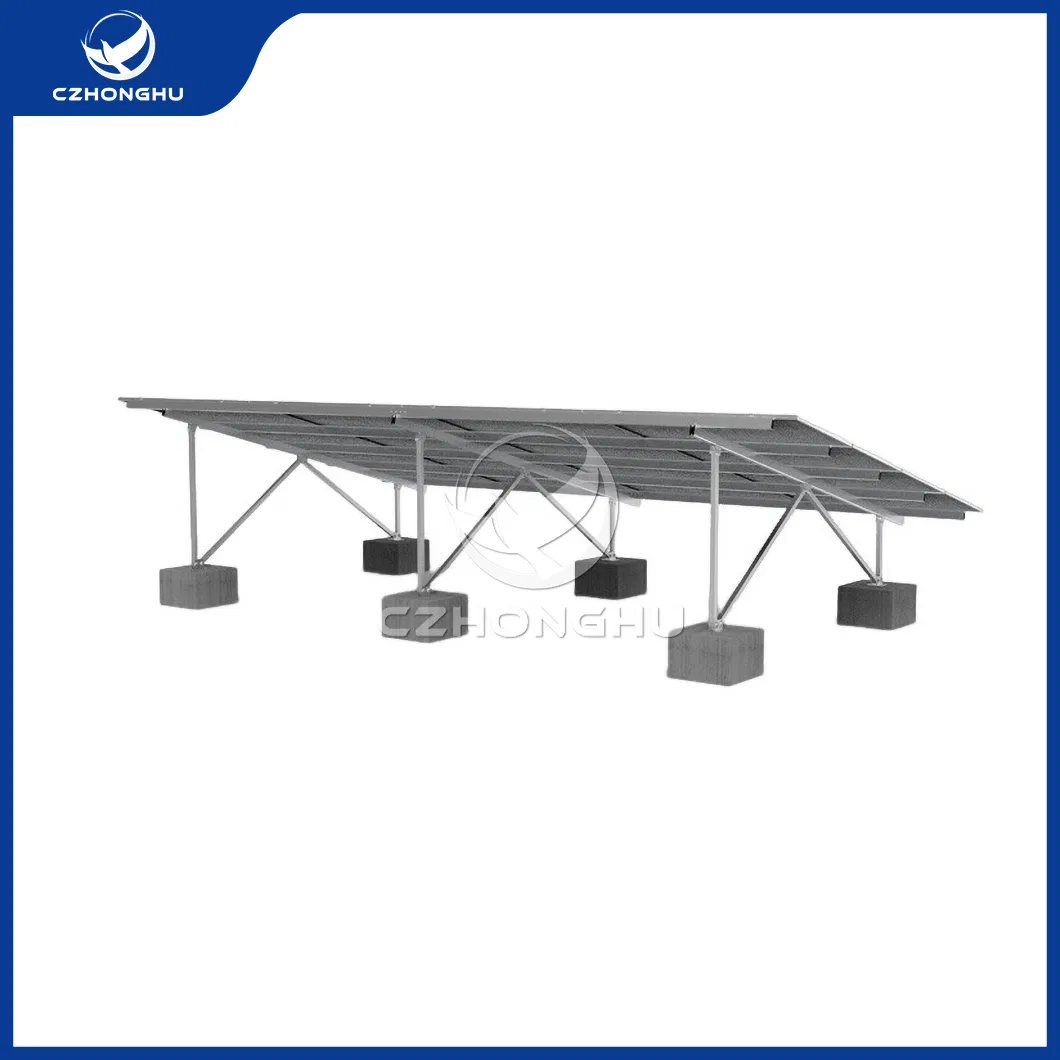
Solar panel ground brackets are mounting systems designed specifically for installing solar panels on the ground, rather than on rooftops or poles. These brackets provide a secure and stable foundation for solar panels in locations where rooftop installation is not feasible, such as open fields, agricultural land, or large commercial properties.
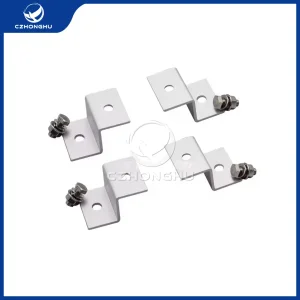
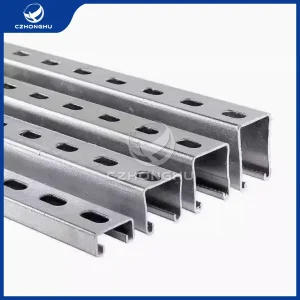
Typically consisting of durable metal frames anchored to the ground using concrete footings or screws, these brackets are designed to support multiple solar panels in a row, creating a solar array that can efficiently capture sunlight and generate electricity.
Product Parameters
| SOLAR GROUND BRACKETS SPECIFICATIONS |
| Model NO. | Solar Ground Brackets |
| Material | Aluminum Alloy |
| Type | Pergola Bracket |
| Surface Treatment | Anodized/Aluminum Andized/Hot-DIP Galvanized |
| Bracket Material | Aluminum/Galvanized Steel/Carbon Steel/Metal |
| Application | Solar Panel Mounting/Ground/Tile Roof/Flat Roof |
| Installation Site | Open Ground / Rooftop |
| Wind Load | 60m/S, 45m/S, 42m/S or Customized |
| Snow Load | 1.4kN/M2, 1.8kN/M2 or Customized |
| Tilt Angle | 0 ~ 60° |
| Standard | DIN, ASTM/ANSI, JIS, EN, ISO, AS, GB |
| MOQ | 100 Pieces |
| Capacity | 200,000 PCS/Month |
Key Benefits
🛡️ Stability
Provides strong support against wind, snow, and environmental factors, maximizing performance and longevity.
⚙️ Adjustable
Allows for optimal positioning to maximize sunlight exposure and overall energy efficiency.
🛠️ Easy Installation
Requires no roof penetrations, reducing installation time and costs significantly.
Detailed Photos
📋 Installation Considerations
- Installation Type: Roof-mounted, ground-mounted, or pole-mounted options.
- Material Quality: High-grade aluminum or galvanized steel for weather resistance.
- Compatibility: Engineered to match specific panel sizes and weight requirements.
- Environment: Designed to withstand local wind speeds and snow loads.
Installation Steps
1
Prepare cement blocks locally for the foundation.
2
Use expansion bolts to fix the bottom side onto the cement block.
3
Connect components to form a stable triangle structure.
4
Use rail connectors to extend and connect the support rails.
5
Securely fix the solar rails onto the main support structure.
Frequently Asked Questions
How can I request product samples?
Samples are provided free of charge, though courier fees are collected. Please provide your sample list and courier account details.
What are the available trade and payment terms?
We support FOB, CNF (CFR), CIF, and EXW terms. Payment is typically a 30% T/T deposit with the balance against the B/L copy.
What is the standard delivery timeframe?
Depending on the order quantity and specific requirements, most standard deliveries are completed within 30 days.
Are you a direct manufacturer?
Yes, we operate our own specialized factory and warehouse facilities to ensure quality control and consistent supply.
Can the brackets be customized for specific wind or snow loads?
Absolutely. Our engineering team can customize the brackets to meet the specific environmental demands of your installation site.
What materials are used for maximum durability?
We primarily use high-strength Aluminum Alloy and Hot-DIP Galvanized Steel to ensure long-term corrosion resistance in outdoor environments.