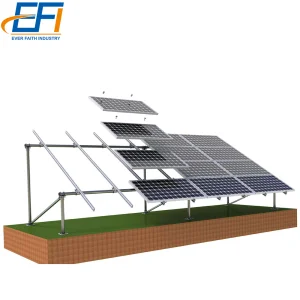
Basic Information
Thickness of Module
30-50 mm
Length of Module
< 2200 mm
Adjustable Angle
15~50 Degree
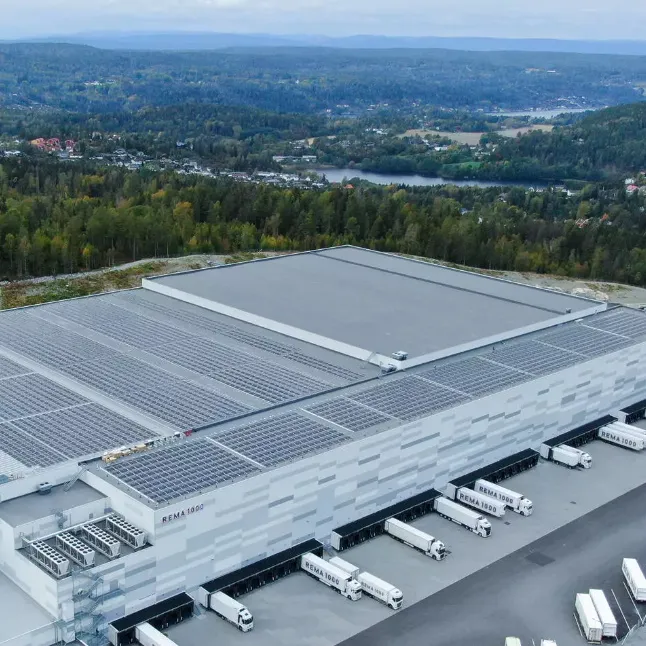
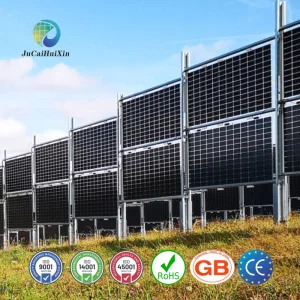
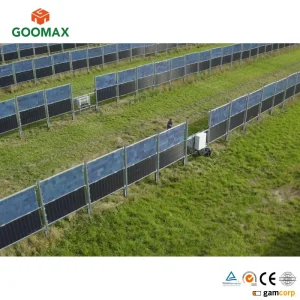
Foundation
Ground, Balcony, Roof, Wall
Product Description
There are primarily 3 kinds of solar roof projects based on the design and integration of solar panels into the roofing system:
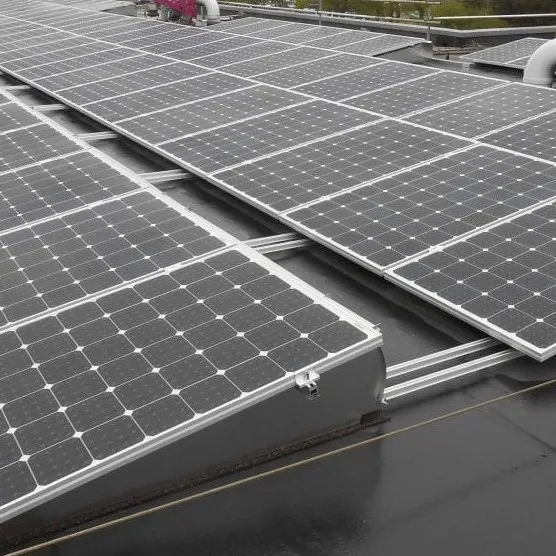
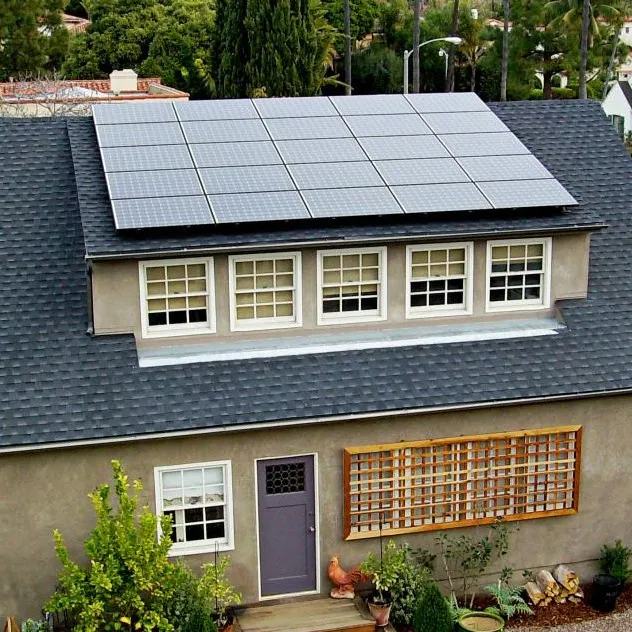
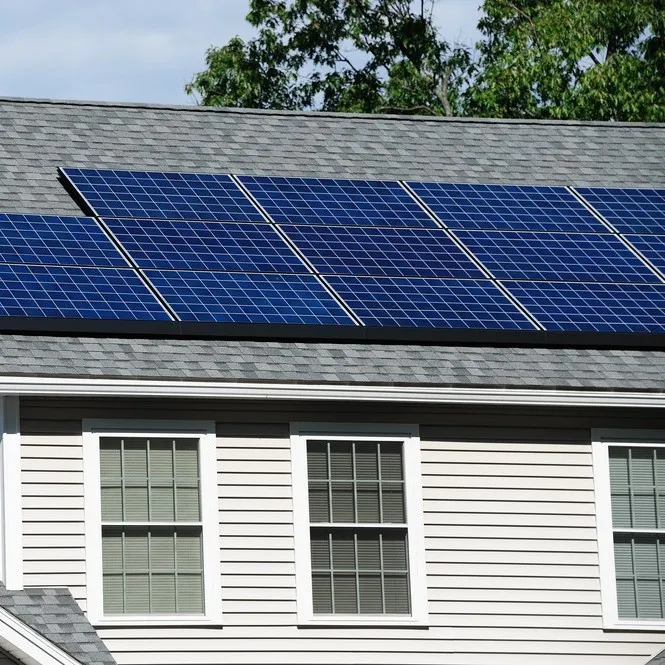
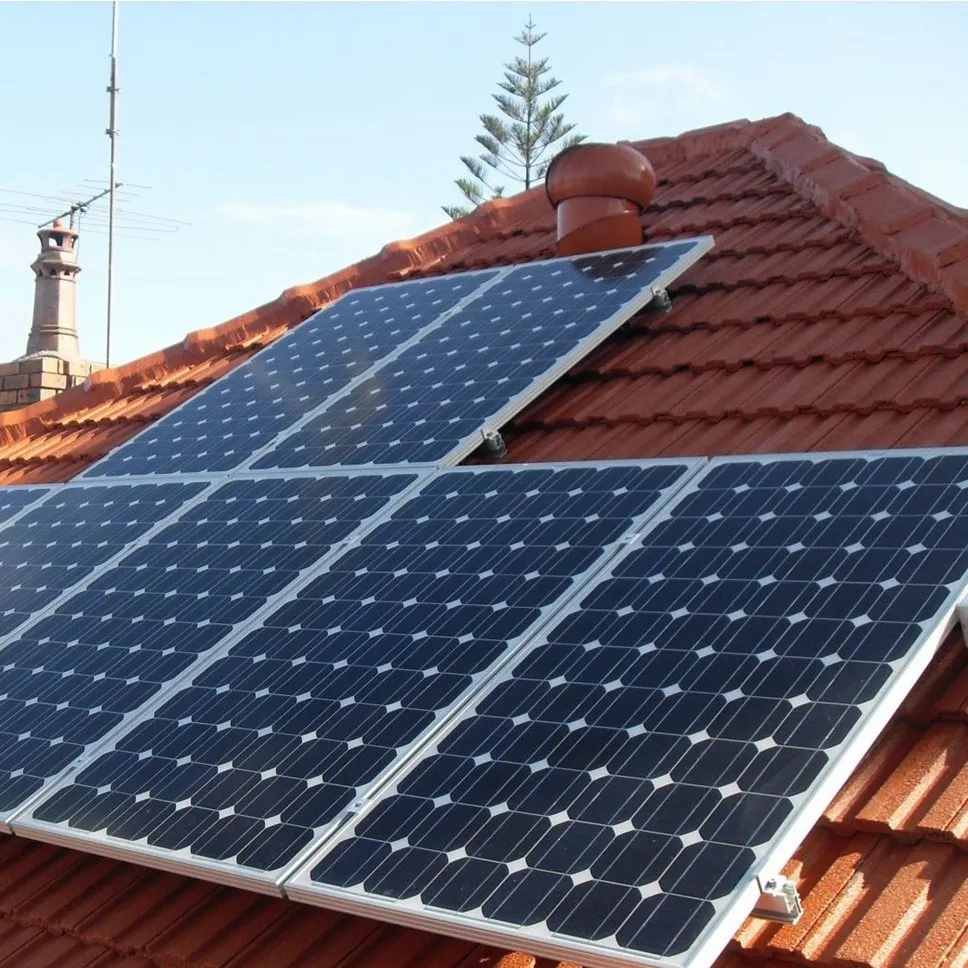
1. Solar Panel Retrofit
The solar panels are mounted on racks or frames that are attached to the roof's surface (e.g., concrete flat roof). Solar panel retrofits are a popular option for residential and commercial buildings with sufficient roof space and suitable structural conditions.
2. Solar Shingles or Tiles
Designed to resemble traditional roofing materials while incorporating solar energy generation capabilities. Solar shingles or tiles are integrated into the roof structure, providing a seamless and aesthetically pleasing appearance.
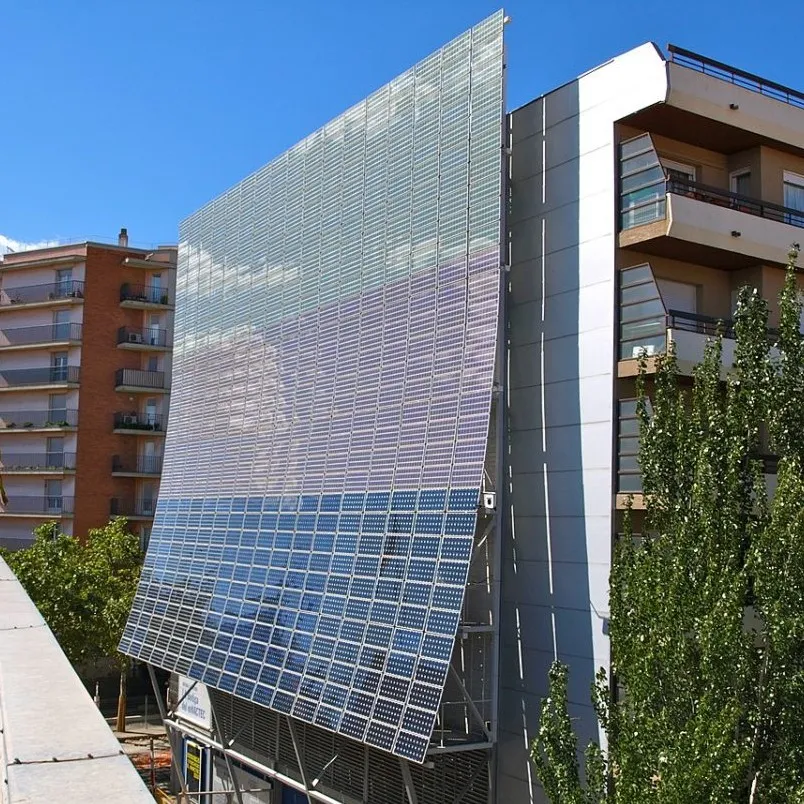
3. Building-Integrated Photovoltaics (BIPV)
BIPV refers to the integration of solar panels directly into the building envelope, replacing conventional materials like windows, facades, or skylights. They serve as both energy generators and structural elements.
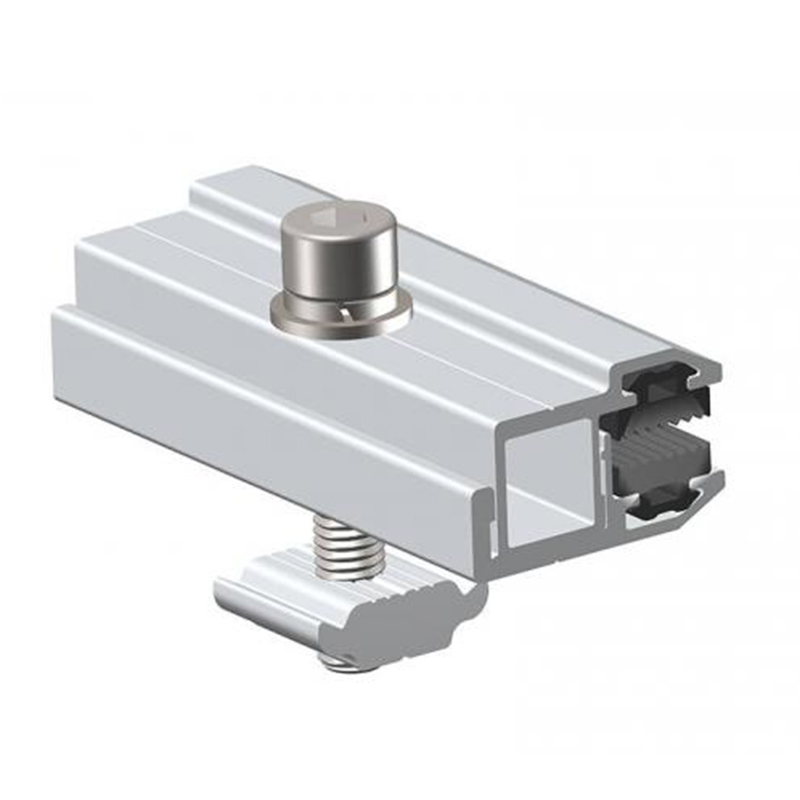
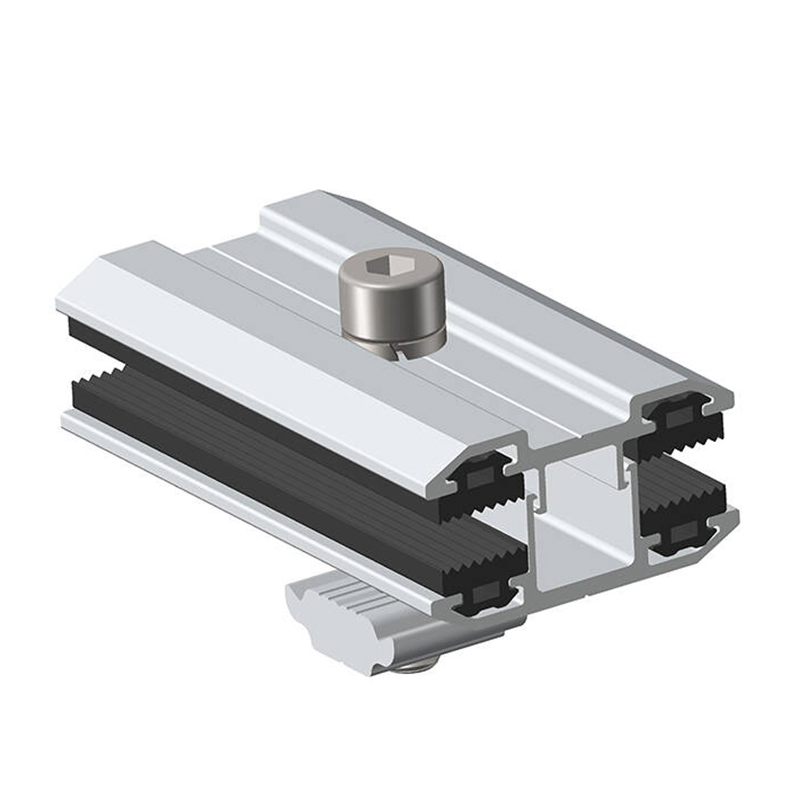
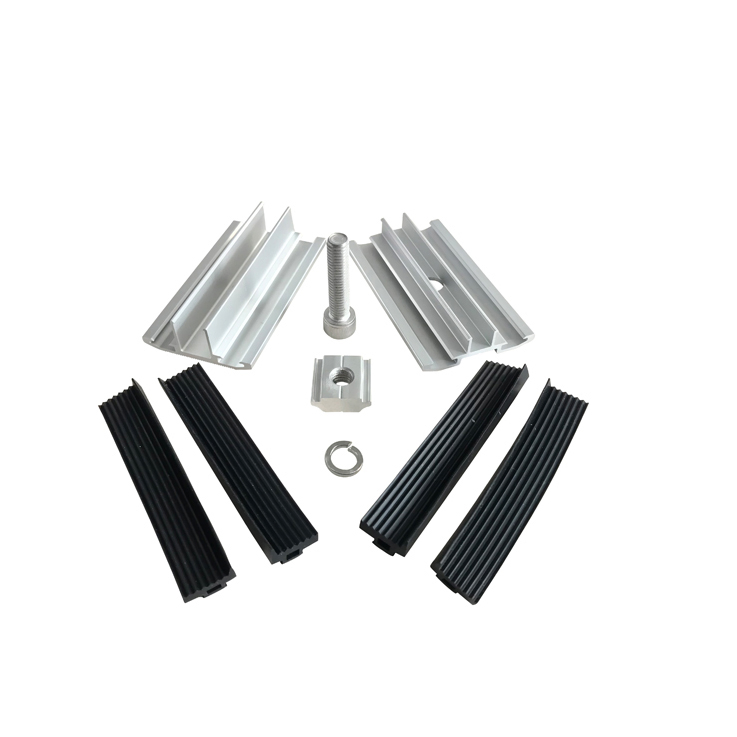
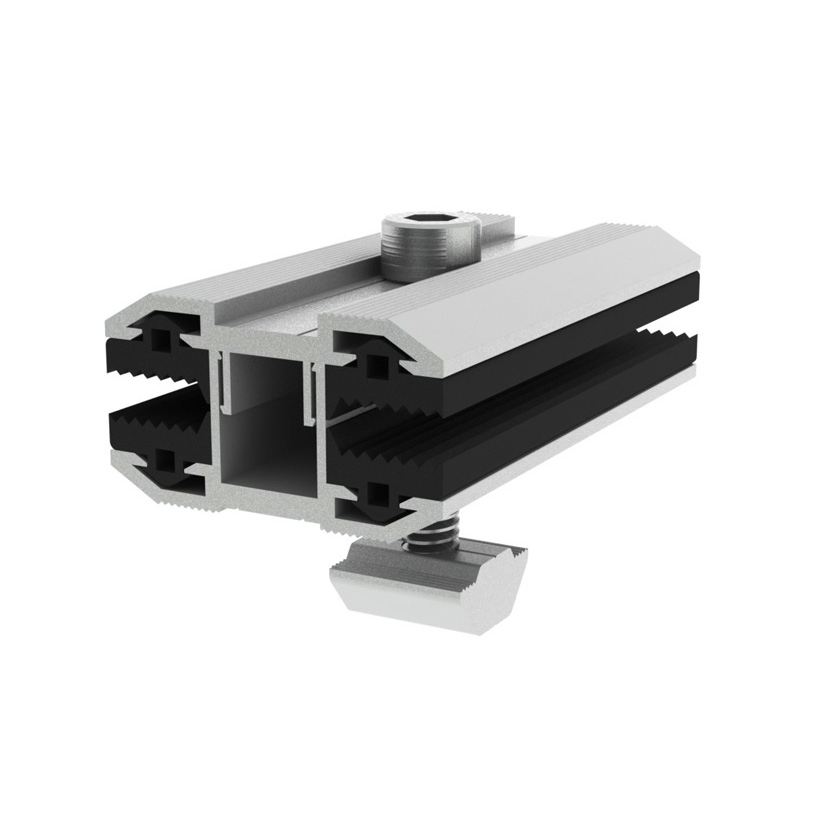
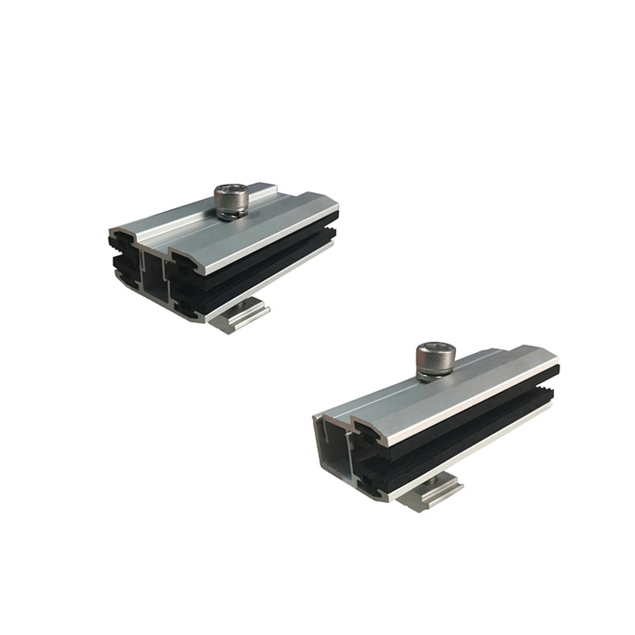
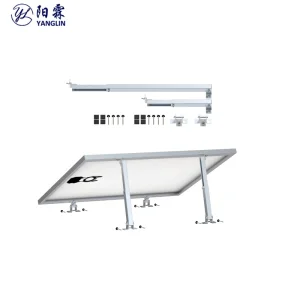
Detailed Photos & Components
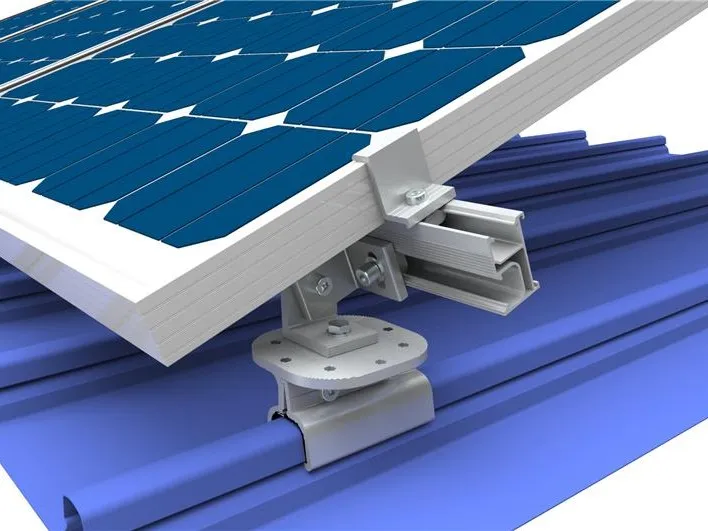
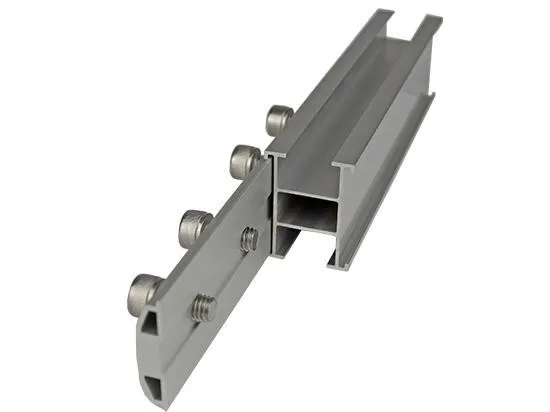
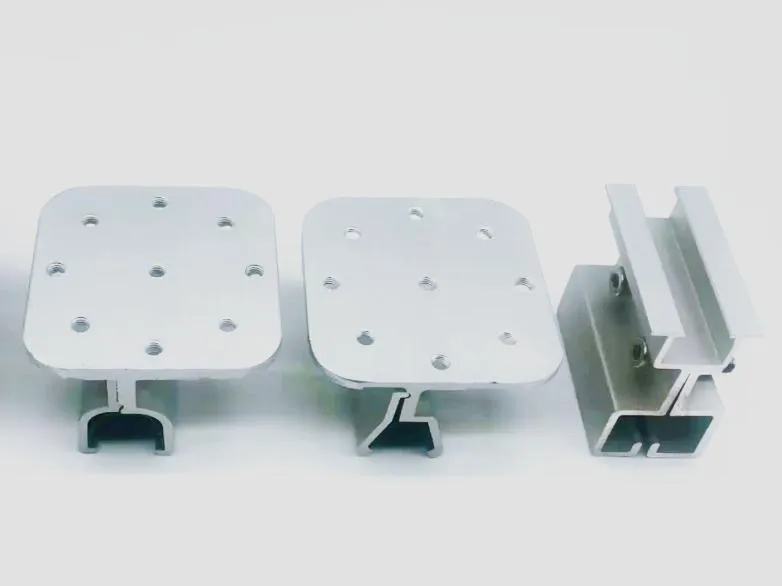
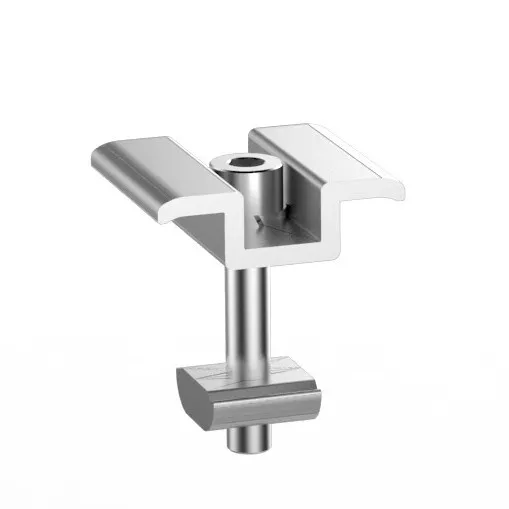
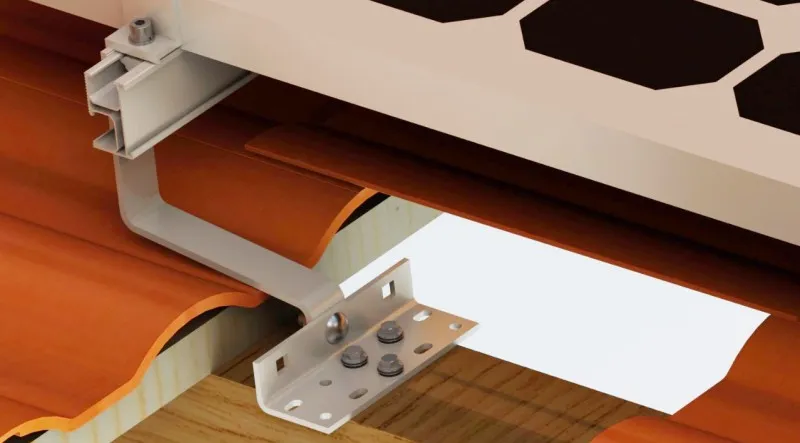
Rails and Splicers: Long metal bars typically made of aluminum or steel providing structural support. Splicers join rail sections to span required distances.
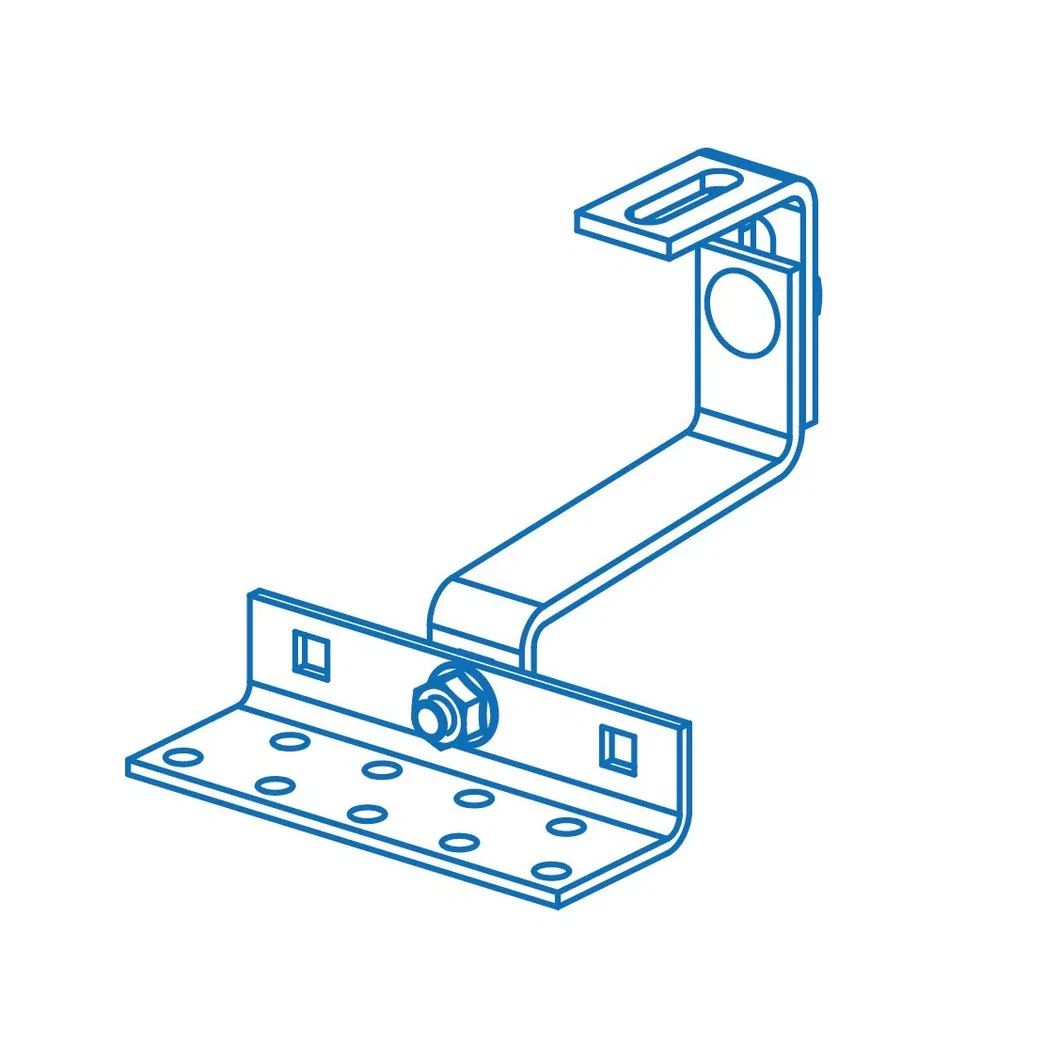
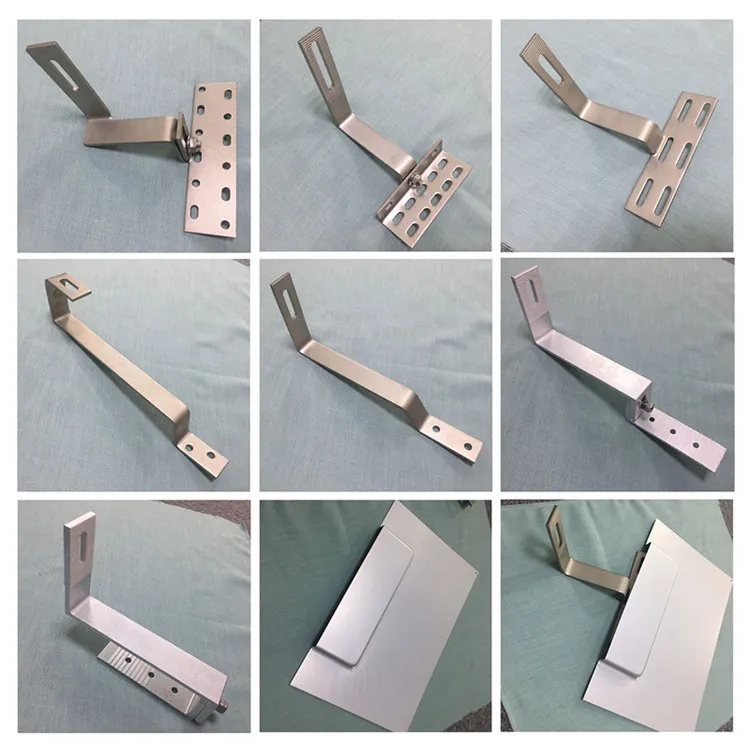
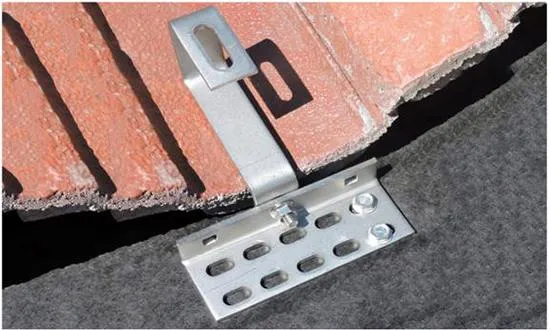
Stainless Steel Hooks: Designed for tile roofs to provide secure attachment without compromising roof integrity.
Metal Roof Brackets: Using clamps or fasteners specifically designed to grip metal roof seams for a watertight seal.
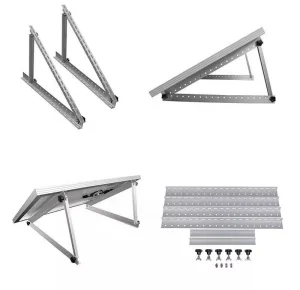
Product Parameters
| Mount Type | Customized mounting system |
| Standard | AS/NZS 1170 |
| Applicable Module | Framed or frameless panel |
| Wind load | Up to 218mph (60m/s) |
| Snow load | Up to 30psf (1.4KN/m2) |
| Width of solar module | 751 ≤ A ≤ 1313 mm |
| Thickness of solar module | 30-50 mm |
| Adjustable angle range | 15~50° |
| Material | Aluminum alloy 6063 T5 |
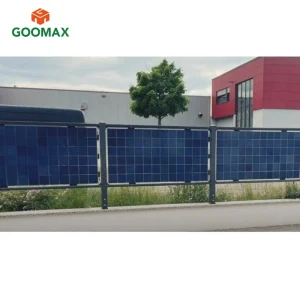
| Application | Garden, balcony, railing, walls etc. |
| Warranty | 10 years |
Installation Instructions
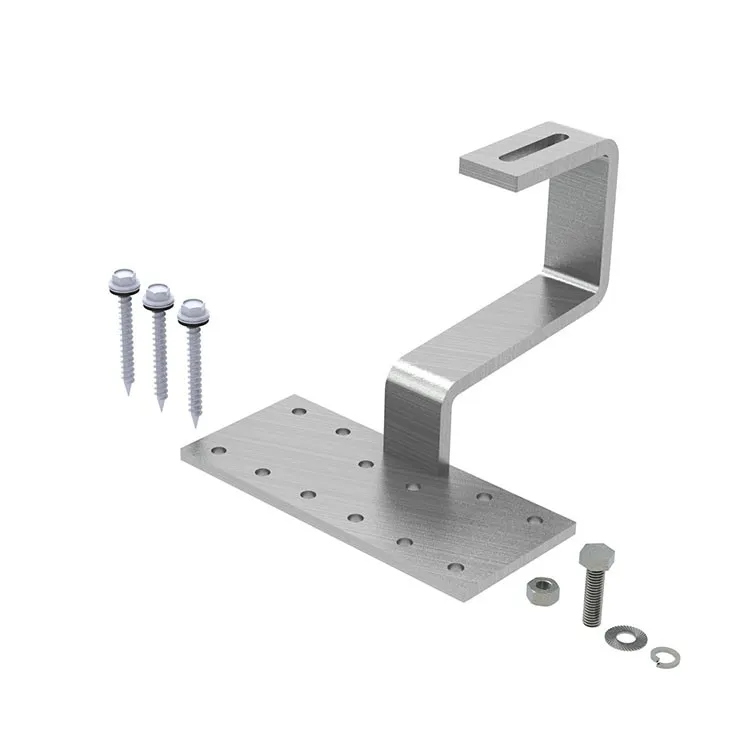
Materials Needed: Dual adjustable stainless steel 304 solar hook, Roofing anchor, Waterproof flashing, Drill, Sealant, Wrench, Safety equipment.
Step 1: PreparationEnsure all tools and safety gear are ready.
Step 2: Roof AssessmentInspect roof orientation and identify hook locations.
Step 3: Marking PlacementMark spots ensuring proper spacing per layout.
Step 4: Drilling HolesCreate holes penetrating through roofing material into rafters.
Step 5: Attaching Hooks & FlashingSecure hooks with bolts and apply waterproof flashing with sealant to create a watertight seal.
Frequently Asked Questions
What is a solar roof mounting system?
It refers to the components used to securely install solar panels on rooftops, including rails, clamps, and brackets designed for stability and weatherproofing.
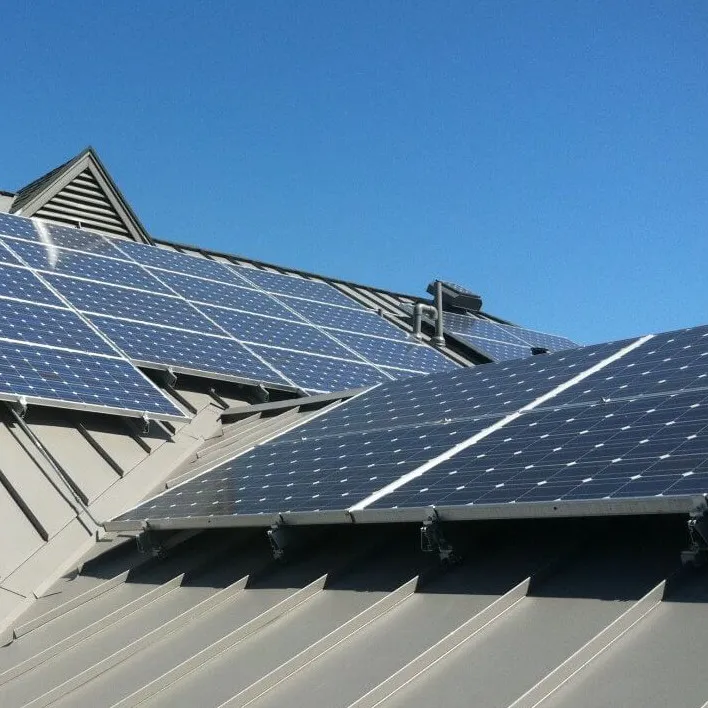
Can it be installed on any type of roof?
Yes, systems are compatible with asphalt shingles, tile, metal, and flat roofs, though specific techniques vary by roof type.
Is the solar mounting system adjustable?
Many systems offer adjustability to accommodate different panel sizes and angles, allowing for optimized energy production.
Does the mounting system require maintenance?
They are generally low-maintenance, but periodic inspections of clamps and fasteners are recommended to ensure they remain secure.
Can the installation cause roof damage?
When installed correctly using proper sealing and flashing techniques, the system maintains roof integrity and prevents leaks.
How long does installation take?
On average, a residential solar mounting system can be installed within a few days to a couple of weeks depending on complexity.